


HANAH adaptogenic pumpkin pie
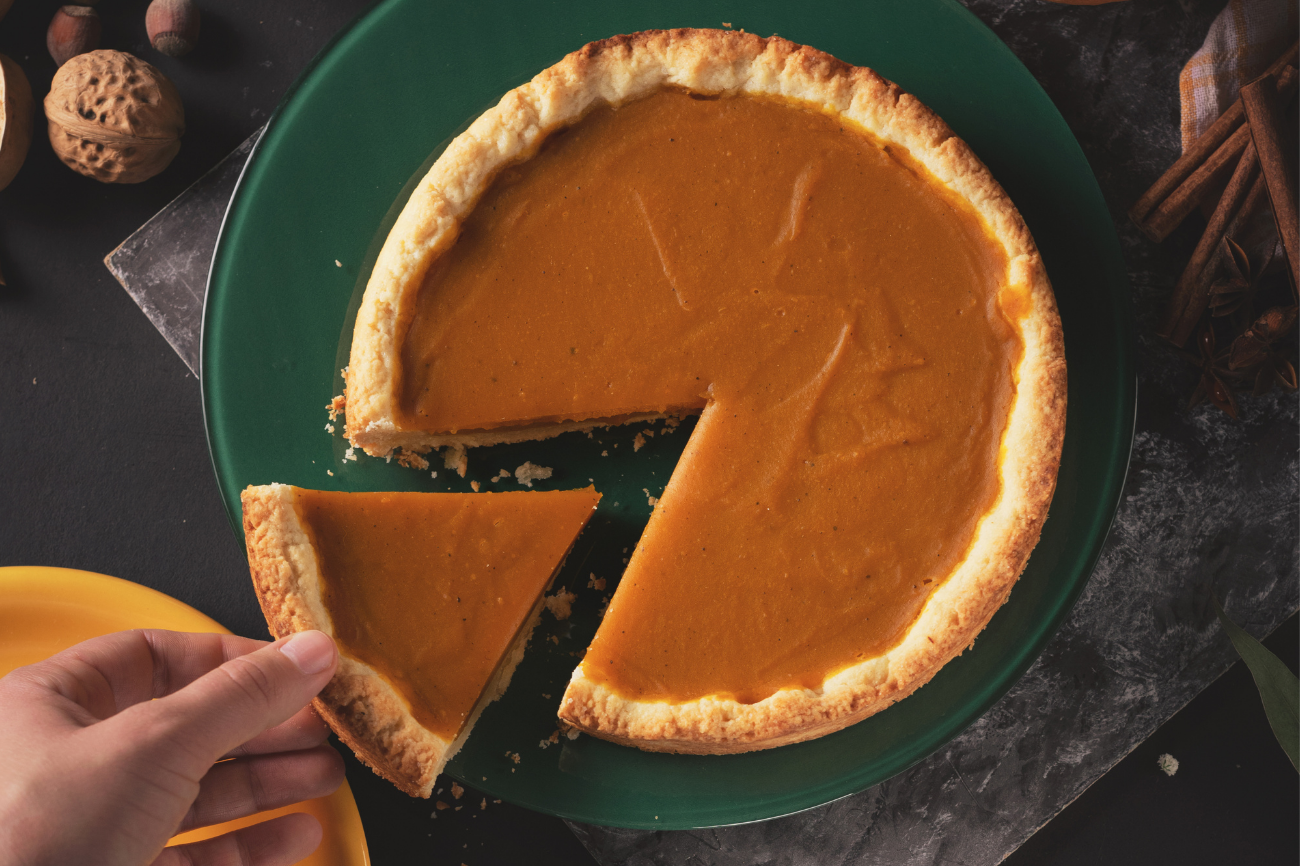

Try our healthy HANAH ONE and Ashwagandha pumpkin pie, here just in time for the holidays. Not only is it gluten-free, this pie is subtly sweet and has a crisp delicious crust to go with its flavorful pumpkin center. The herbal blend of HANAH ONE mixes seamlessly with the signature flavor of pumpkin pie but with a healthy, Ayurvedic spin. Top it off with coconut whipped cream and try to save some for your friends and family.
Serves: 10
Ingredients
Crust
- 1 1/4 cup gluten-free flour
- 6 tablespoon cold grass-fed butter
- 1 teaspoon HANAH Ashwagandha+
- 1/4 teaspoon salt
- 4-6 tablespoons ice cold water
Filling
- 2 3/4 cups pumpkin puree (~1 1/2 15-ounce cans)
- 1/4 cup maple syrup
- 1/3 cup unsweetened plain almond milk
- 2 1/2 tablespoon cornstarch or arrowroot powder
- 2 tablespoon brown or coconut sugar (optional, if a more dessert sweet finish is desired)
- 1 tablespoon HANAH ONE
- 1 tablespoon olive oil, or melted coconut oil
- 1 3/4 teaspoon pumpkin pie spice (or sub mix of ginger, cinnamon, nutmeg & cloves)
- 1/4 teaspoon sea salt
Whipped cream
- 1 (5.4oz) can coconut cream chilled for 6-8 hours or overnight
- 1 1/2 tablespoons maple syrup
- 1 teaspoon vanilla
- 1 dash salt
Directions
- To prepare crust, add flour and salt to a large mixing bowl and whisk to combine. Slice the cold butter in and work gently with a fork or pastry cutter to cut it in. Don’t overwork, just get it incorporated.
- Add ice cold water a little at a time to the flour mixture and use a wooden spoon to stir. Only add as much water as you need to help it come together.
- Once a loose dough is formed, transfer to a piece of plastic wrap and work gently with your hands to form a 1/2 inch thick disc. Wrap firmly and refrigerate for a minimum 30 minutes, up to 2 days. Remove from refrigerator about 30 minutes before using to warm it up a little bit. You don’t want it too warm or it can get too soft to handle.
- Once your dough is chilled, preheat oven to 350 degrees F (176 C) and prepare pie filling.
- Add all pie ingredients to a blender and blend until smooth, scraping down sides as needed. Taste and adjust seasonings as needed. Set aside.
- To roll out the crust, unwrap the disc and place it between two sizable layers of wax paper. Use a rolling pin to gently roll it into the shape of your pie pan. If it cracks, don’t stress - you can reform it with your hands once you get it in the pan. But try and be gentle.
- To transfer the crust, remove the top layer of wax paper and gently lay the pie dish face down on top of the crust and use the support of the wax paper to quickly but carefully invert it. Don’t overthink it - just do it.
- Once you get the crust inverted, gently use your hands to form it into the pan, working the crust up along the sides. It can be a little tricky but it bakes beautifully, so it’s worth the effort! Just try not to overwork the dough in the process - it shouldn’t take more than a few minutes to perfect the shape. Any holes or cracks can be mended with a little excess dough and the heat of your hand.
- Pour filling into pie crust and bake for 58-65 minutes. The crust should be light golden brown and the filling will still be just a bit jiggly and have some cracks on the top. Remove from oven and let cool completely before loosely covering and transferring to the refrigerator to fully set for 4-6 hours, preferably overnight.
- For whipped coconut cream: open can and pour out any liquid. Place the remaining cream into a bowl and add maple syrup, vanilla and salt. Whip with a whisk until desired texture is reached. If you are trying to steer clear of sweetener, try it without maple, vanilla and salt.
- When pie is fully set and ready to serve, slice and top with a glob of coconut whipped cream. Optional: add an additional sprinkle of cinnamon, nutmeg, and/or pumpkin pie spice
Recipe inspired by the Minimalist Baker.